
Module:Central African Republic Civil War detailed map/doc
| This is a documentation subpage for Module:Central African Republic Civil War detailed map. It may contain usage information, categories and other content that is not part of the original module page. |
{{Module rating }}
Usage[edit]
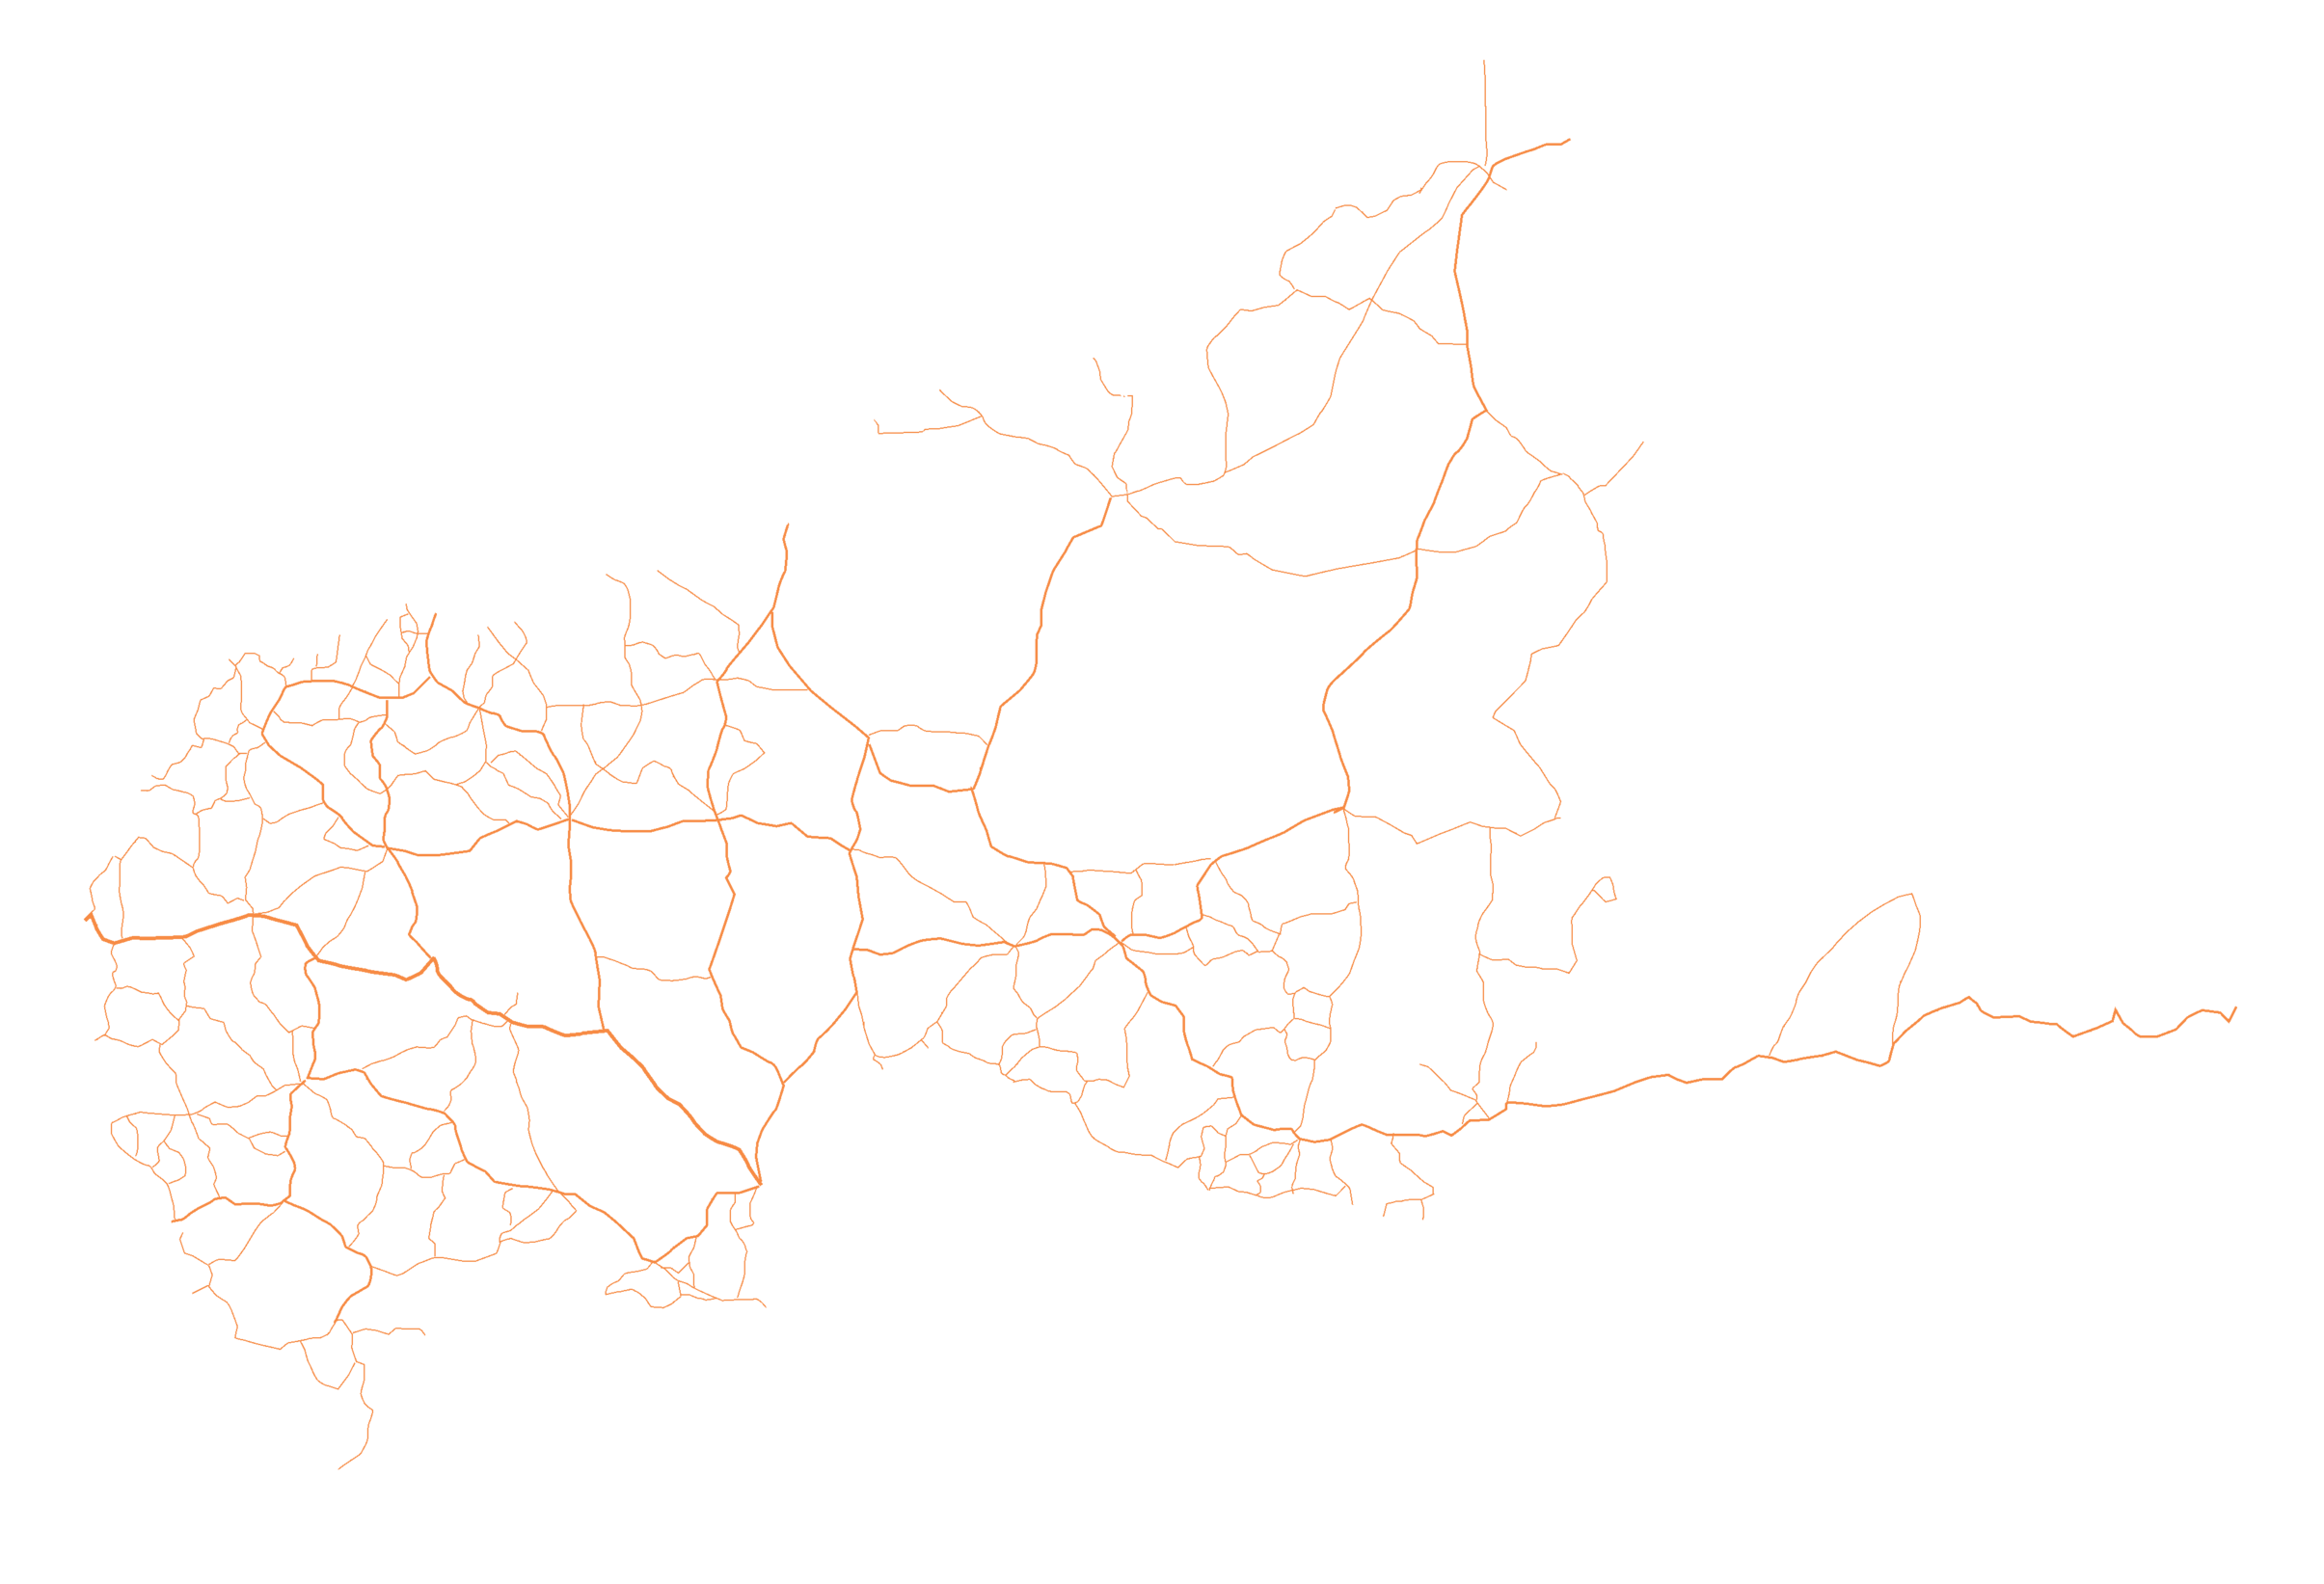
{{#invoke:Central African Republic Civil War detailed map|function_name}}
 | Rules for Editing the Map
1- A reliable source for that specific edit should be provided.
2- Copying from maps is strictly prohibited. Maps from mainstream media are approximate and therefore unreliable for any edit. Maps from amateur sources are below the standards of Wikipedia for any edit. They violate WP:RS and WP:CIRCULAR.
See also: Wikipedia:Top 10 myths about the Wikipedia Syria war map. |
For quick reference, this module is transcluded on the following:[edit]
Contested icon[edit]
Definition[edit]
The purpose of the contested icon (![]() ) is to show 2 groups of soldiers fighting over control of a town, and that there is a significant number of troops inside the city actively holding territory. We generally turn a town contested based on widespread clashes reports. Contested means we cannot say one specific side controls the town. There should be evidence that the enemy is inside the town, which is a necessary (but not sufficient) condition for making a town contested. Contested status is appropriate if the town in question is controlled partly by one party, and partly by another. For example, it could be that one party controls the outer neighborhoods, while the other party holds the city center.
) is to show 2 groups of soldiers fighting over control of a town, and that there is a significant number of troops inside the city actively holding territory. We generally turn a town contested based on widespread clashes reports. Contested means we cannot say one specific side controls the town. There should be evidence that the enemy is inside the town, which is a necessary (but not sufficient) condition for making a town contested. Contested status is appropriate if the town in question is controlled partly by one party, and partly by another. For example, it could be that one party controls the outer neighborhoods, while the other party holds the city center.
Examples of cases where the contested icon should not be used[edit]
- A case where there was no chance of the enemy taking the town over, and only, small clashes were going on in the town. We don't put towns contested if there are only sporadic clashes. So reports of clashes are not always enough to mark a town as contested.
- A case where there were clashes in a town with a handful of enemy fighters and the clashes were over after some hours. For example if source says: "… at least six insurgents were killed during the clashes … while the rest of militants escaped on Saturday evening”
- A case where there was just one source about clashes in a major town and what occurred was essentially a small firefight. Sleeper cells infiltrated the town and shot at some soldiers, and the soldiers shot back and killed some of them. The source then reports the rest of the fighters as having fled the battlefield. So this was a one-off, hit-and-run attack, not a serious attempt to grab and hold parts of the town.
- A case where there were many separate reports of rebel ambushes on army checkpoints so this was not a seizure of territory inside of the town. The rebels do not control any part of the town, so a contested icon is unwarranted.
- A case where the enemy reached city limits. Well, they still haven't entered the city proper (which is the prerequisite for marking the city as "contested") When the city really becomes contested, a bunch of news outlets will be reporting on it. Just because there is enemy at gates does not mean it is contested. The enemy needs to be making progress in the city.
- The evidence should be especially strong to turn a “stronghold” contested. A few clashes, especially on the periphery are not enough. There should be evidence that the enemy can do more than just hit & run attacks. In these cases, a semi-circle is often enough.
Cities[edit]

The larger the size of the town, the more evidence is needed to make it contested. This is even more so the case for cities. Large cities (such as province capitals) are almost never marked as contested. Instead we make image mini-maps for them or put small icons on them to represent neighborhoods that are contested or controlled by a specific party. In contrast, a simple clash report of a small unknown village can turn it contested.
For example, we would not mark as contested a city where a party still controls 95% of the city. Instead we mark specific enemy positions on the outskirts of the city until fighting in the city becomes widespread. As nobody claims there is any fighting inside of the city, it should be marked as colored dot within a siege circle (see Figure 1). Then, advanced points in the city should be marked as small dots in the color of the enemy (or small contested icons). In this specific case, a "contested" icon was added to represent the "west side of the city" that is contested (see Figure 2). This is more informative to our viewers. Since the code puts icons on the map in the order of code lines (starting with first line of code and ending with last line of code), the small "contested" icon should come in the line after that of the (large) city icon. Otherwise, the small icon will be hidden by the large icon and will therefore be invisible.
After the fights become more widespread in the city (& enemy controls a larger part of the city), we can remove the "west side of the city" icon and turn the whole city contested (see Figure 3). After this, if we learn that the enemy has taken over the whole city except for a small pocket (in south east) that is still resisting, then we change the contested icon into the color of the enemy and put a small dot representing the small pocket that is still resisting (see Figure 4).
Siege and pressure from one side icons[edit]
Definition[edit]
The siege icon (![]() ) should be used for towns that are under siege or strong enemy pressure. The “pressure from one side” icon (
) should be used for towns that are under siege or strong enemy pressure. The “pressure from one side” icon (![]() ) should be used for towns that are under enemy pressure from one side.
) should be used for towns that are under enemy pressure from one side.
How to place these icons[edit]
The easiest way to place these icons is to copy/paste the line code of the object you want to have a circle (or semi-circle) around it and then:
- Replace the mark = parameter with
 or
or 
- Increase marksize = parameter by 4. So for example, if the town dot has a size of 10, then the circle (or semi-circle) should have a size of 14.
Always put line of code circle (or semi-circle) before line of code of town (or other object). This is because the code puts icons on the map in the order of code lines starting with first line of code and ending with last line of code. If you put the line of code that draws the circle (or semi-circle) icon after the line of code that draws the town icon then the computer puts the town icon first and then put the circle (or semi-circle) icon on top of it. The town icon still appears because the circle (or semi-circle) is drawn on a transparent background. However, even a transparent background does obstruct the name of the town icon from appearing. So, the name of the town will not appear when you hold cursor over it.
Example:
- Correct:
{ lat = "33.972", long = "36.897", mark = "map-arcNE-black.svg", marksize = "12" },
{ lat = "33.972", long = "36.897", mark = "Abm-red+icon.png", marksize = "8", label = "Brigade 128", label_size = "0" },
- Wrong:
{ lat = "33.972", long = "36.897", mark = "Abm-red+icon.png", marksize = "8", label = "Brigade 128", label_size = "0" },
{ lat = "33.972", long = "36.897", mark = "map-arcNE-black.svg", marksize = "8" },
Labels[edit]
Only towns & border posts can have blue visible wikilink labels. Whether a town has a blue visible wikilink label or not will depend on its size, importance and available space around it for the label to appear without obstructing other towns. The wikilink labels can have sizes that range from a minimum of 65 to a maximum of 120 (reserved for province capitals).
"link=" parameter: linking towns to sources[edit]


Every element on the map should be verifiable. Information on towns (description of control & sources) can be found by clicking on the town dot on the map. Notice the caption of the map which says: "Hold cursor over location to display name; click to go to sources &/or status description (if available, the cursor will show as ![]() ; if not, it will show as
; if not, it will show as ![]() )."
)."
Notice the “link=” parameter in the map code. This is supposed to link to the part in the Wikipedia article that contains the source and talks about the events in the town. So for example, if you click on the dot of the town "Inkhil" on the map, it will take you to the part of the Wikipedia article on the town "Inkhil" that has the description of war events (& sources): link = "Inkhil#civilwar" Here the first part before the # is the name of the article (Inkhil). the second part after the # is the name of the section (civilwar).
For this to work, there needs to be a section by this same name in the article or you need to put a wikilink anchor: {{anchor|section}} that will act as a section header (in this case {{anchor|civilwar}}).
The link to sources &/or status description should be done according to the following priorities in this order:
- The part of the town's article that talks about the war events in the town (see Example 1 below).
- The part of a "battle/offensive/etc..." article that talks about the latest status of the specific town (see Example 2 below).
- The article about the town which does not contain war events (still better than nothing).
A quick look at the map's code will tell you where each town dot is currently linking.
Example 1: How to keep town dots linked to the latest status source when the town has its own Wikipedia article.. The example concerns the town of Al-Taybah. First, notice how there is: link = "Al-Taybah#civilwar" parameter associated with the code line of town Al-Taybah. As indicated above, this links the Al-Taybah town dot with the war section in the town's Wikipedia article. This parameter does not change over time. However, the war section in the town's Wikipedia article needs to stay up-to-date in terms of the latest control status and latest associated source. For example, on 20/08/2017 the government took the town. To keep the link up-to-date, this latest event (along with the source) needs to be added to the war section in the town's Wikipedia article. To accomplish this, notice the following edit which added to the article the following text:
However, in 20/08/2017, the Army stormed the Taybah area from their positions at the Al-Kom axis, pushing their way through ISIL's front-lines. Unable to maintain their positions, ISIL was forced to retreat from Taybah, leaving the entire area for the Army to take control of after a short battle.<ref>[https://www.almasdarnews.com/article/breaking-syrian-army-liberates-important-area-besiege-isil-north-palmyra/ Syrian Army liberates important area to besiege ISIL north of Palmyra], Al-Masdar news, 20/08/2017.</ref>
This provides the latest status (along with the source) to viewers clicking on the town's dot in the map. Notice also how at the beginning of the war section in the town's Wikipedia article, there is the expression: {{anchor|civilwar}}. This mirrors the #civilwar part in the link parameter in the map's code and allows the click on the dot to take the viewer to the beginning of the war section in the town's Wikipedia article. In summary, when the status of a map object changes, the color of the icon has to be updated and the write-up (along with the source) has to be added as well.
Example 2: How to keep town dots linked to the latest status source when the town does not have its own Wikipedia article. The example concerns the town of "Kabajeb". Up to August 2017, the link parameter associated with the code line of the town was link= "Deir ez-Zor offensive (April–July 2014)#Kabajeb". As indicated above, this links the Kabajeb town dot with a war article that talks about the latest war events concerning the town (along with a source). This was done because the town Kabajeb does not have its own Wikipedia article. Therefore, the link is made to the article that have the latest status & source. In this case, it is the article Deir ez-Zor offensive (April–July 2014) which states in its code:
{{anchor|Kabajeb}}The ISIS reportedly took parts of the town,<ref>{{cite web|url=http://www.dailystar.com.lb/News/Middle-East/2014/Apr-10/252903-syria-qaeda-loses-ground-to-jihadist-rivals-on-iraq-border.ashx|title=Syria Qaeda loses ground to jihadist rivals on Iraq border|work=The Daily Star Newspaper - Lebanon|accessdate=25 October 2014}}</ref>
Notice how the paragraph starts with the expression {{anchor|Kabajeb}}. This guides the link to put the reader exactly at the beginning of the latest status & source. However, on 2017-09-04, the government took the town from ISIS. So the above link & source is no longer up-to-date. To stay up-to-date, you need to do 2 steps:
Step 1: Write about the new status in some "battle/offensive/etc..." article that relates to the town. Alternatively, you can find an up-to-date text that someone else wrote and proceed to the next step. In our case, you find that someone wrote this updated status in the article Central Syria campaign (July 2017–present) which states in its code:
5th Corps alongside 18th Reserve Division captured the town of Kabajib during midday, while later in the day together with Tiger Forces captured al-Shulah.<ref>{{Cite news|url=https://www.almasdarnews.com/article/breaking-syrian-army-liberates-strategic-town-en-route-deir-ezzor-city/|title=Breaking: Syrian Army liberates strategic town en route to Deir Ezzor City|date=2017-09-04|work=AMN - Al-Masdar News {{!}} المصدر نيوز|access-date=2017-09-04|language=en-US}}</ref>
This is exactly what we need. Therefore, we proceed to the next step.
Step 2: In the map code, we need to update the link parameter to point to the new status in the new article. This edit does this. As you can see, the link was changed from link="Deir ez-Zor offensive (April–July 2014)#Kabajeb" to link="Central Syria campaign (July 2017–present)#Kabajeb". However, for this to work, we need to also put the expression {{anchor|Kabajeb}} at the beginning of the part in the new article that talks about the new status. This is done in this edit.
Example 3: For another illustration on how the link= parameter and "anchor" template work, see Talk:Cities and towns during the Syrian Civil War/Archive 65#Link of Suran, Hama.
How to preview map before saving edit[edit]
Before saving your changes (by clicking "Save changes"), you should preview your edit (changes). This allows you to view the map to make sure it is what you want to do before saving and making the changes appear on Wikipedia. To do this, type in the box under "Preview page with this module" the name of the template: "Template:Central African Republic Civil War detailed map". Then hit "Show preview".
How war map module work with other parts of Wikipedia[edit]


 Under control of the Government forces and MINUSCA
- Under control of the Coalition of Patriots for Change:
 Under control of Union for Peace in the Central African Republic (UPC)
 Under control of Parti du rassemblement de la nation centrafricaine (PRNC)
 Under control of The Popular Front for the Rebirth of Central African Republic (FPRC)
 Under control of Central African Patriotic Movement (MPC)
 Under control of the Anti-balaka
 Under control of "Return, Reclamation, Rehabilitation" (3R)
 Under control of Lord's Resistance Army
 Under control of Misseriya Arabs
 Under control of Azande Ani Kpi Gbe
Contested
 Government and UPC
 Government and MINUSCA - Anti-balaka
Other


 Army base

 Airport or air base (jet)

 Airport or air base (helicopter)

 Mine
Mine Border post
 Dam
Dam Industrial complex
Besieged : ![]()
![]()
![]()
Besieged one side
![]()
![]()
![]()
![]()
![]()
![]()
![]()
![]()
![]()
![]()
![]()
![]()
![]()
![]()
![]()
![]()
![]()
![]()
![]()
![]()
![]()
![]()
![]()
![]()
2 nested circles: Controlled by inner, but under siege by outer
Large circle with different icons inside: Situation in military/economic installations in and around city